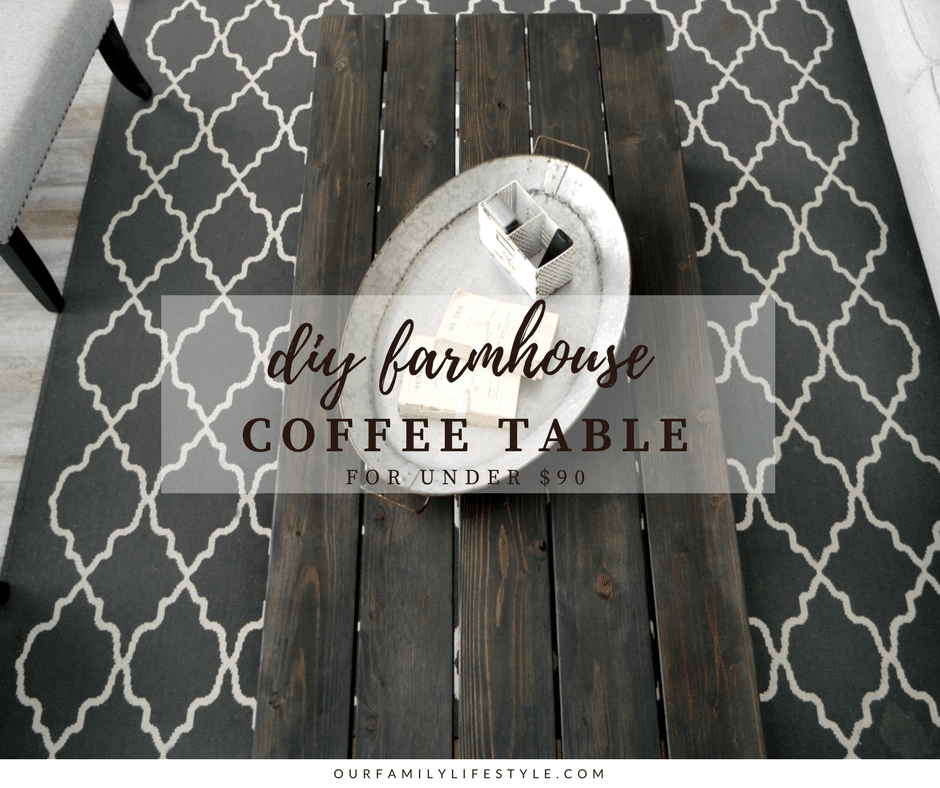
DIY X-Frame Farmhouse Coffee Table For Under $90
One of the greatest things about having crafty parents is that when I tell Colby, “Oh, I can make it for less than that,” I really can.
This post may contain affiliate links, which means I’ll receive a commission if you purchase through my links, at no extra cost to you. We are a participant in the Amazon Services LLC Associates Program, an affiliate advertising program designed to provide a means for us to earn fees by linking to Amazon.com and affiliated sites. [Learn more]
Or, at least I can help/watch one of them do it for less.
I buy the materials and then help along the way. Plus, I am learning as I go, but not quite there yet with all the power tools.
Being a carpenter’s daughter, I have watched him my entire life, but he’s never really let me use the power tools.

X-Frame Farmhouse Coffee Table
Until this time! He handed me the drill at one point and I was far too excited about it.
Honestly, I thought he needed me to hold it so he could do something, but then he directed me on how to properly use the drill.
WooHoo! It took me a few tries. I *may have* gone too fast the first time.
There *may have* been little nicks in the wood from the drill falling off the screw head.
But, I officially had a part in the actual construction of my beloved X-Frame Farmhouse Coffee Table.

So, the back story there. Our new living room space is much longer than in our last home.
We have a small square table, that I still love, which was simply too short and wide for the new area.
Looking at the tables I wanted online, the prices were anywhere from $300 to $700. I simply didn’t want to pay that much.
After just buying the house, I was looking to find ways to cut costs, but still get all the rooms furnished.
Therefore, I found a plan from Ana White that was basically what I was looking for, and then we adjusted it to fit the space, as well as the style I wanted.

Again, because the space was very long and narrow, we adjusted the plans to better fit the area.
Instead of a couch and loveseat, we use two couches of various lengths to meet the needs of our large family.
The longest couch, and the one that would run parallel with the coffee table, is 104″ long. Ana’s plans make a 52″ table.
My dad suggested at least 60″, so that is what we decided on. I also did not really want the bottom shelf.
Our current table has one and I never use it for decorating.
In fact, Colby tries to store pillows off the couch there (ummm, they go ON the couch, not the table), Joeli sticks her toys there, our dog tries to get up there and sleep, and I just get to dust it.
Therefore, it was a “no” for me.

Once we had our design in mind, this was our final cut list:
- 6 — 2×6 boards at 60″ long (top)
- 4 — 2×4 @ 16 ½” (legs)
- 4 — 2×4 @ 25 ½” (end trim)
- 2 — 2×2 (length and angle based on constructed table)
- 4 — 2×2 (length and angle based on constructed table)
Additionally, we used 2 ½″ pocket hole screws, a drill, a miter saw, wood glue, tape measure, a carpenter’s square, and Kreg Jig Pocket Hole System.
Y’all, this Kreg Jig was a game-changer with the table.
There are mini sets available that may be a more affordable option if you don’t think it would get much use.
Otherwise, make the investment if you do not already own it. It helped streamline the finished look!

As for the directions, my dad went pretty quick so I tried to capture the steps as he went along.
If you need more detailed instructions, you may find following Ana’s plans easier as we deviated a bit along the way.

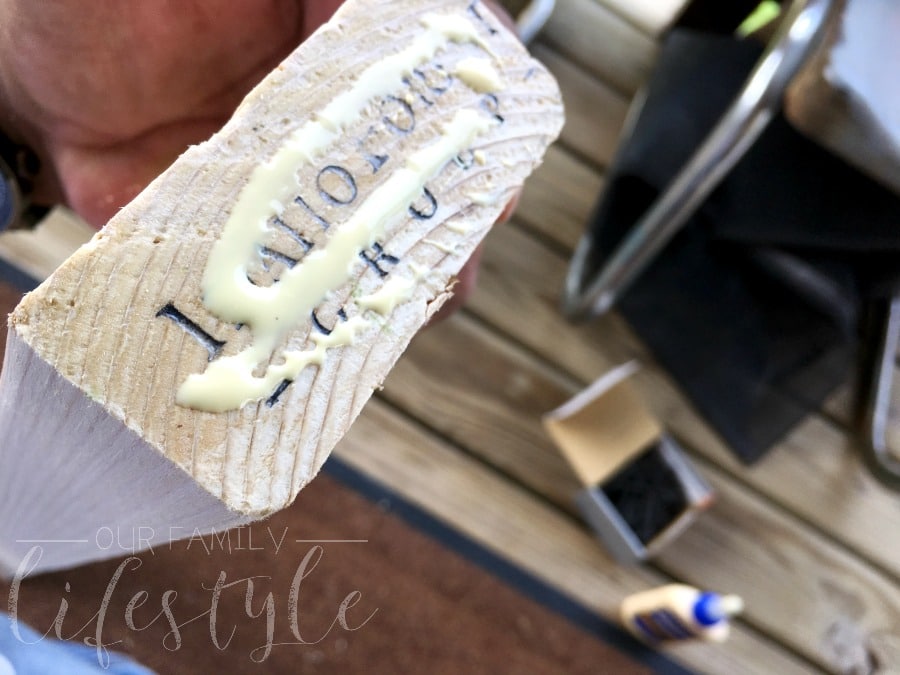
First, we built the side two pieces, which included all four legs. Run two legs parallel to each other with a 25 ½” 2×4 running across both the top and bottom to create a rectangle.
We glued each piece together and then hid pocket hole screws along the bottom of both the top and bottom to attach the legs on either side.

Because we were not expecting to put any considerable amount of weight on the table, we decided to forego the trim around the outer edge of the table.
Instead, next, we measured for a 1 ½” overhang on each end of the table, made sure our legs were square, and then positioned our 2×6 boards across the legs to form our tabletop.
Again, we deviated from the original plan here as well by leaving a space between each board.
The outer boards were flush with the outside legs and then we equally spaced the other three boards. It was simply the look I wanted.
You may prefer adjusting the length of your end trim boards to create a more cohesive, tighter fit across your tabletop.
We used wood glue to form a bond between each piece before using screws to keep them in place.
Next, it was time to build the X braces. My dad literally took a 2×2 and held it up to the end of the table where he wanted it positioned.
He then used a pencil to trace the cut lines.
The angle was dependent on the construction of each end of the table, therefore each board was measured and cut independently.
He did the same with the other four 2×2 boards.

This left one last step to finish the construction of the table: the brace under the table.
Because we decided against the bottom shelf, we still needed to steady the legs.
We used a 2×4 cut the distance of the table from the inside of each end trim. Using clamps, we held it in place, first with glue, then with screws.
Now, it was time to sand off any splinters, remove any manufacturer stamps on the wood, and round the edges of the table before finishing it.
This is where my specialty comes into play. I may not be a professional with power tools, but I can paint and stain like no one’s business.

We chose a white semi-gloss paint for the legs and trim, and then a dark stain for the top.
After looking at several options, I chose Jacobean by Minwax with a Polyurethane Clear Finish. I could not have been happier with the finished look!
And the best part?
It cost us under $90 for the materials!
Now I have the table I wanted for far less than the price in stores and, most importantly, made with love from my dad.


This product presentation was made with AAWP plugin.